Get started with Schema-Stitching
This guide is for projects using Schema-Stitching. For most new projects we recommend using GraphQL Federation because it has become the industry standard, but Schema Stitching will continue to be supported as an alternative.
Once you’ve created a Hive project of type Schema-Stitching, you can simply push your GraphQL schema to the registry. This guide will guide you through the basics of schema pushing, checking and fetching, and also the implementation of a simple schema-stitching gateway.
This guide is going to use the Stitching Directives approach of Schema-Stitching; the advantage of this approach is that all schema and type merging configuration is represented in a single document managed by each subservice, and can be reloaded by the gateway without the need to specify any stitching configurations on the gateway.
Schemas and Services
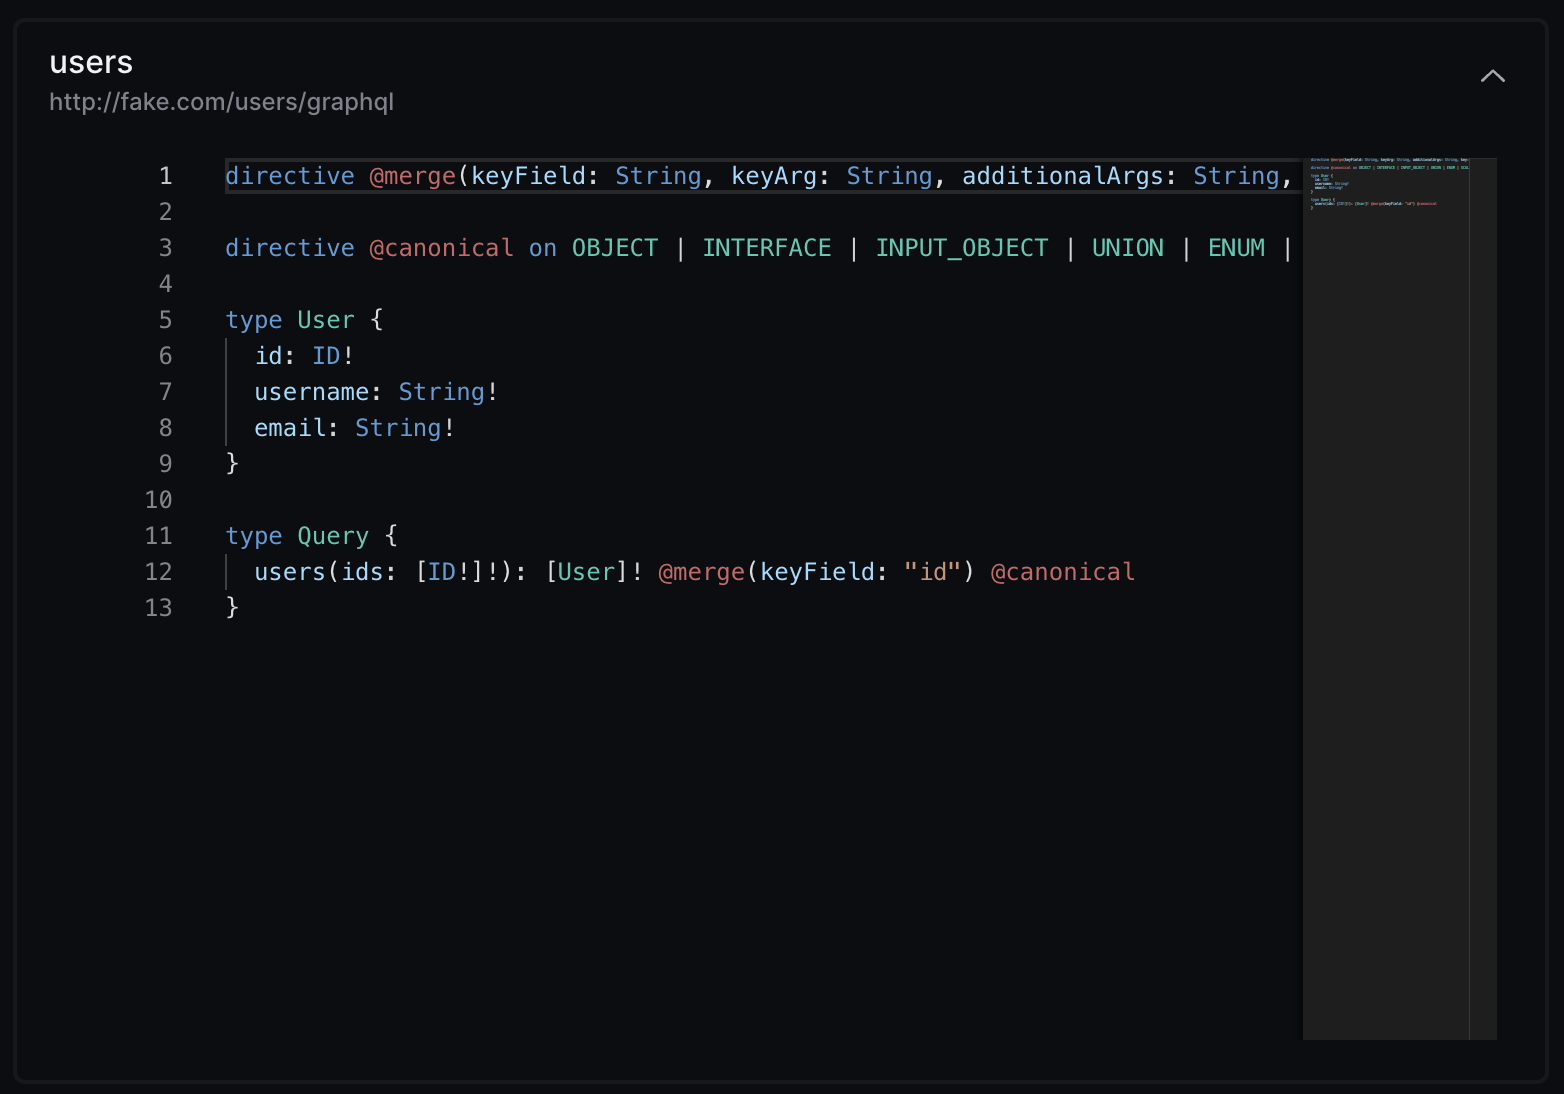
For this guide, we are going to use the following schemas and services:
subschemas
Here’s the GraphQL schema (SDL) for every service we are going to publish to Hive:
Create Access Token
In order to publish our subgraph schemas to the schema registry, we first need to create an access token with the necessary permissions for the Hive CLI.
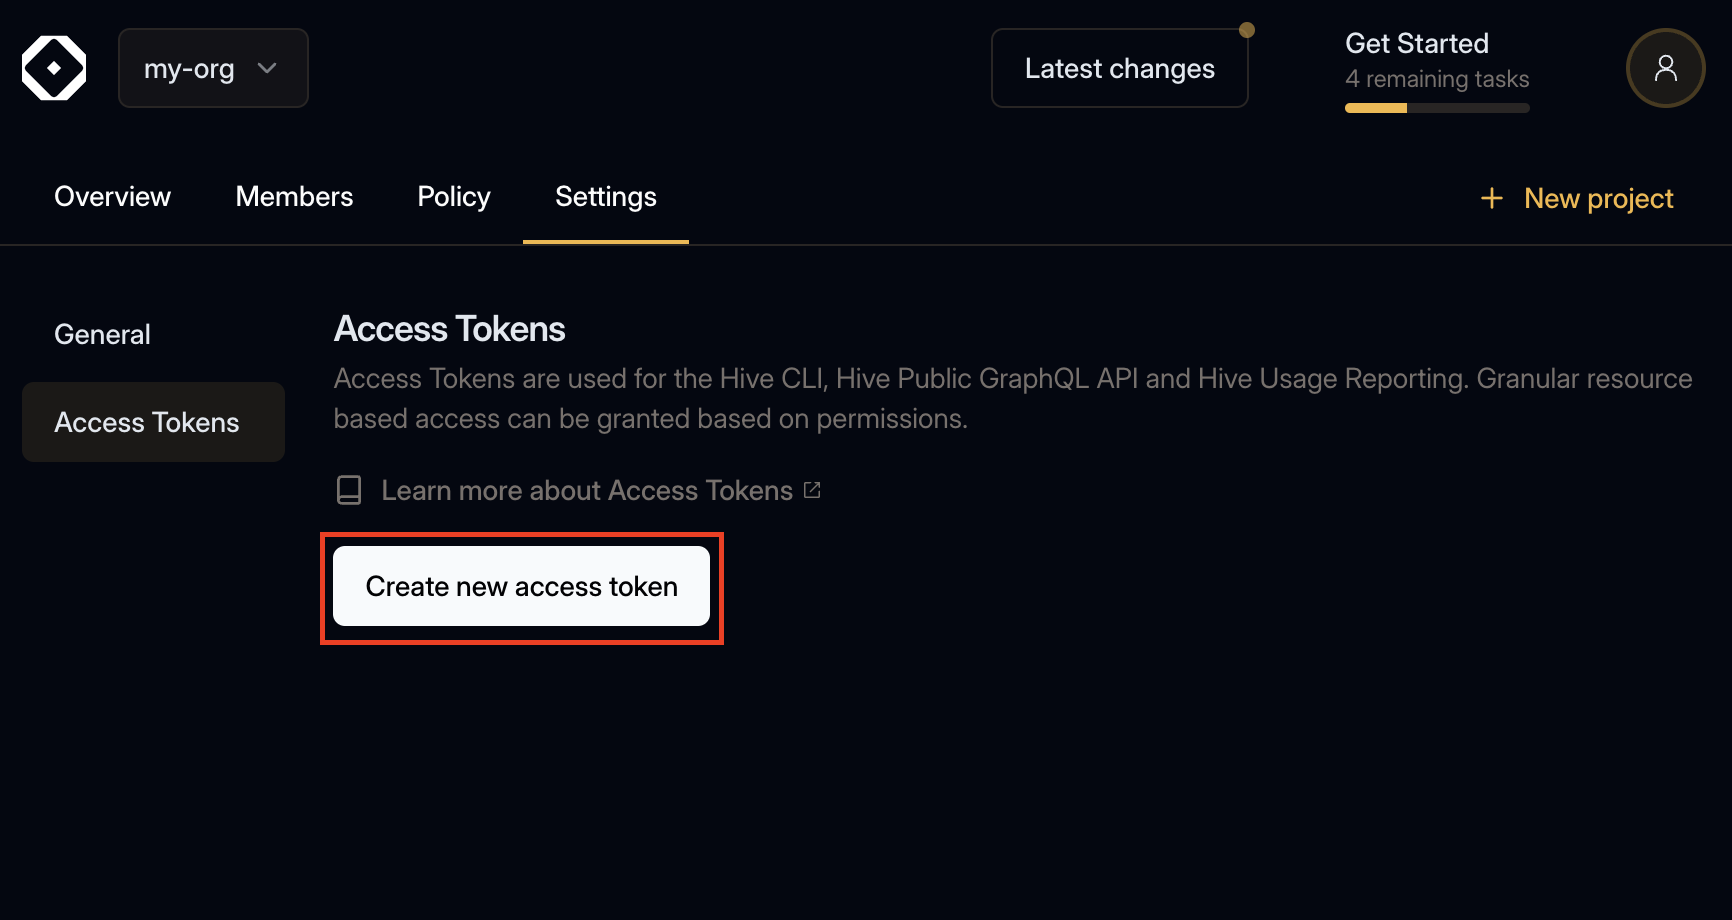
Within your organization, open the Settings tab and select the Access Token section.
Click Create new access token and enter a name for the access token.
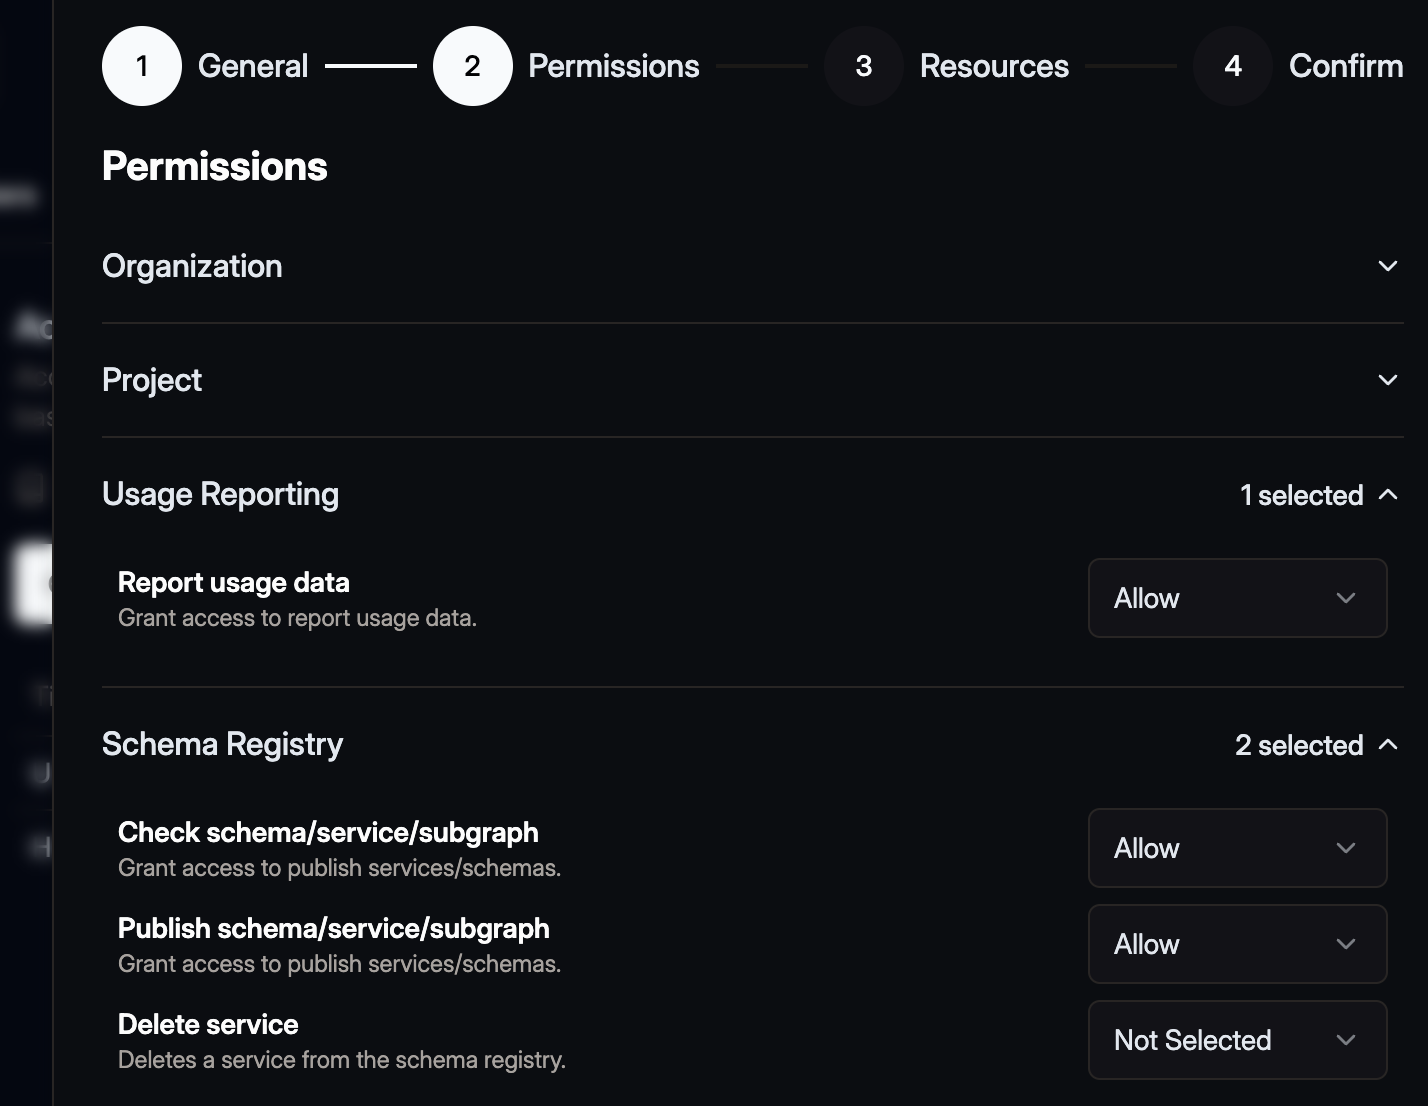
Click Next and select Allowed for Check schema/service subgraph,
Publish schema/service/subgraph, and Report usage data.
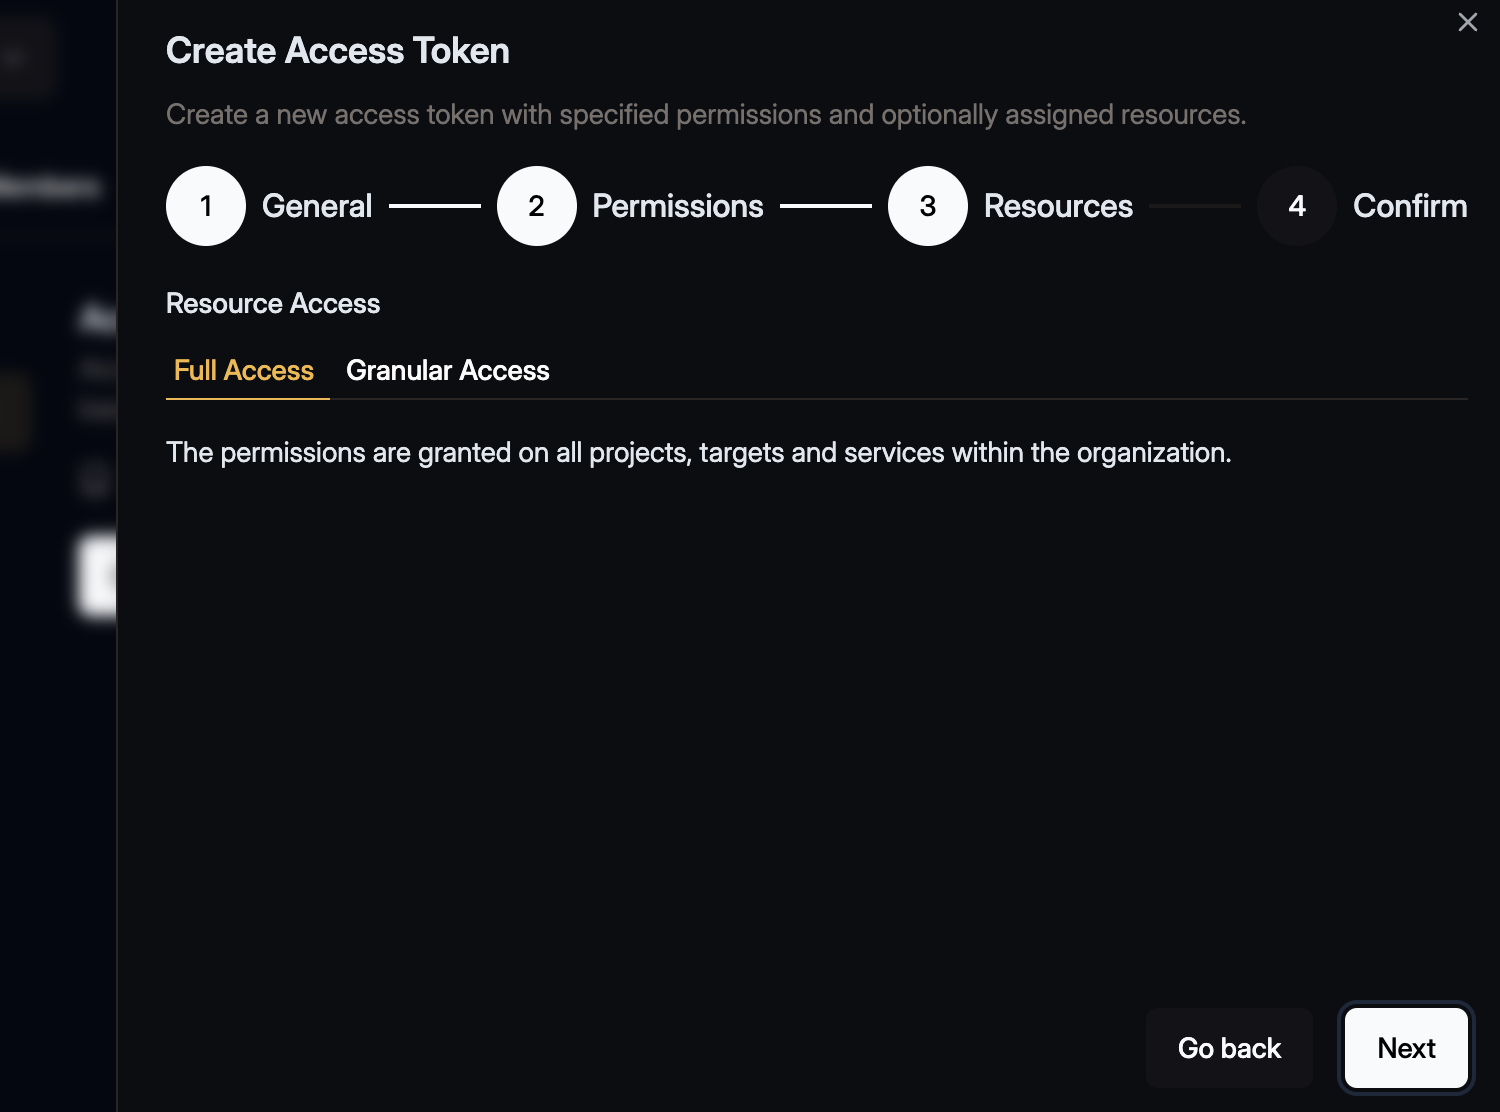
Click Next and in the next step keep the Full Access selection for the resources. For the
purpose of this guide there is no need to further restirct the resources.
One last time click Next and review the access token.
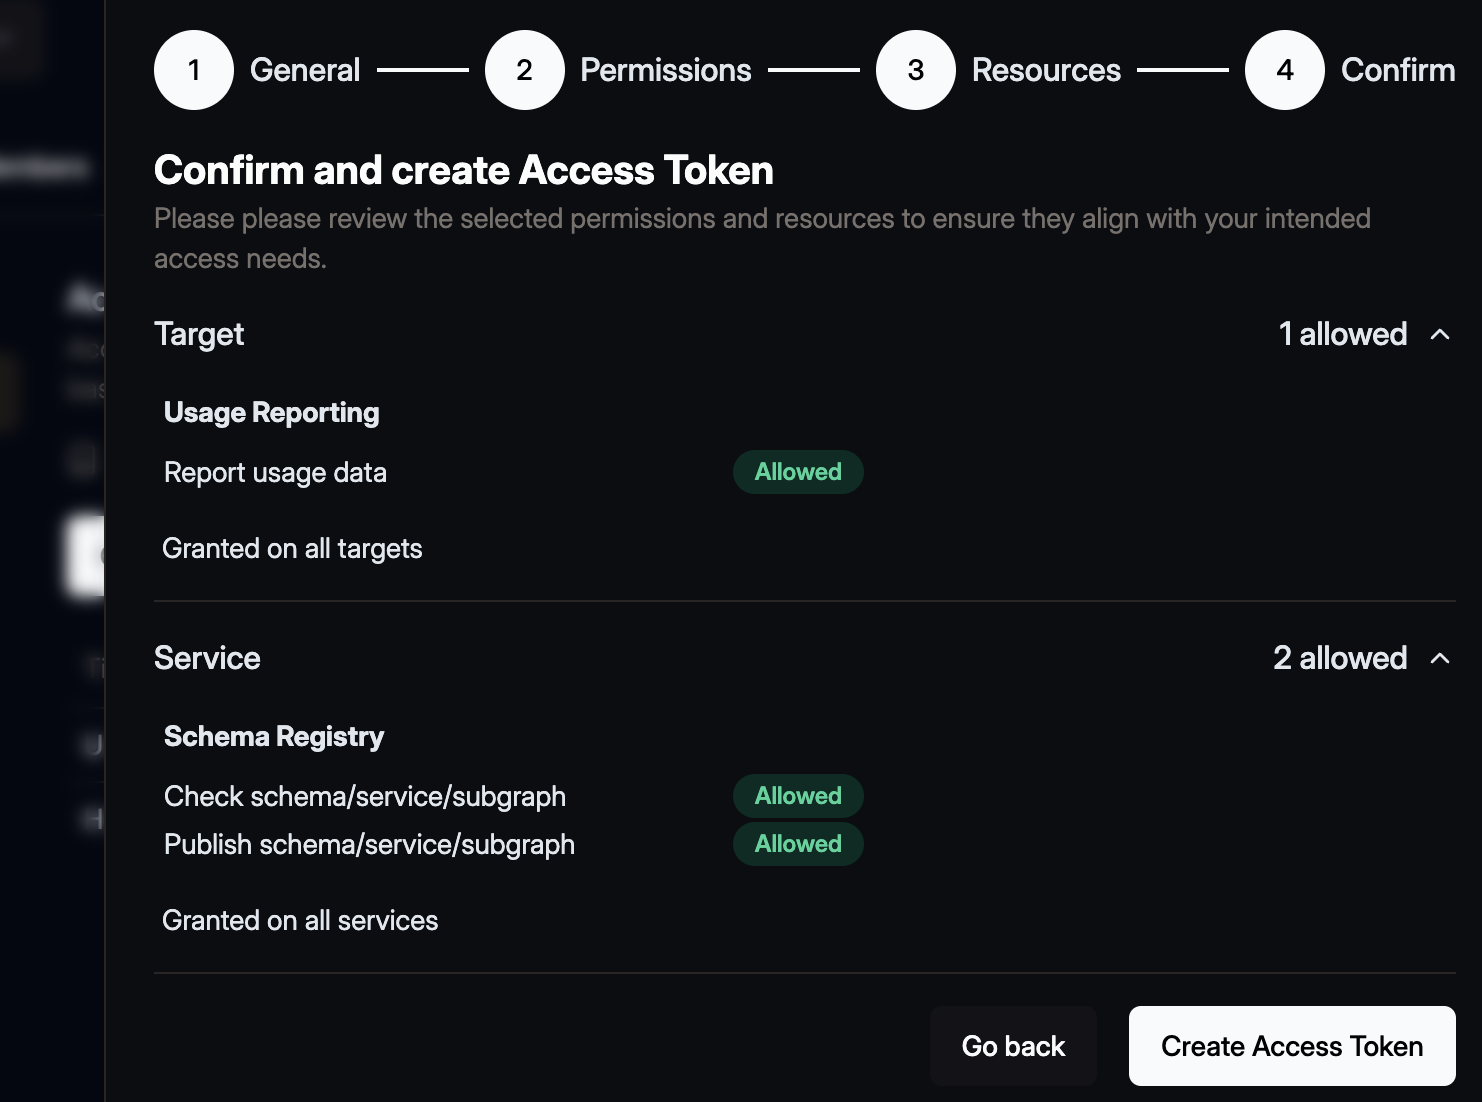
Then click the Create Access Token button. A confirmation dialogue will open that shows the you
generated token.
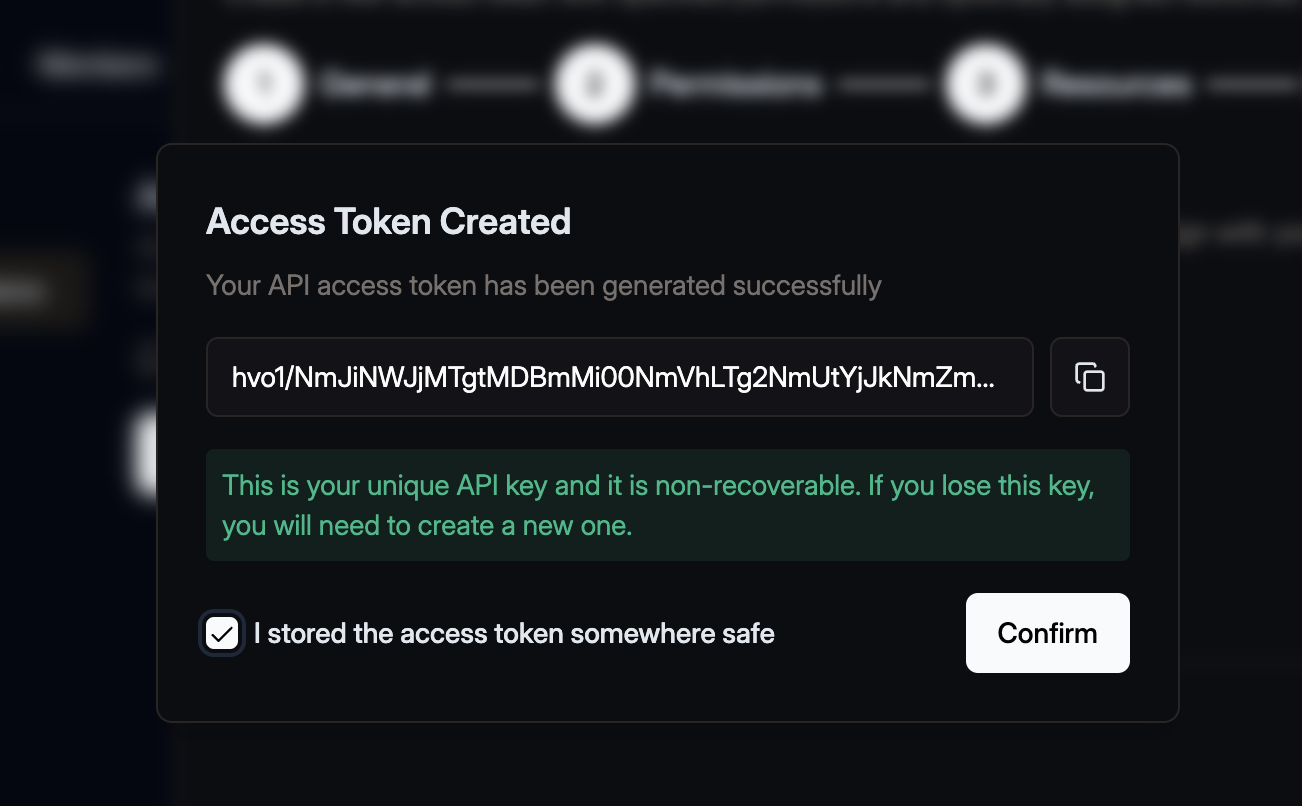
Make sure to copy your token and keep it safe. You won’t be able to see it again.
Publish your schemas
As you may have noticed, Hive has created three targets under your project: development,
staging, and production. This guide will use the development target to explore the features
Hive offers.
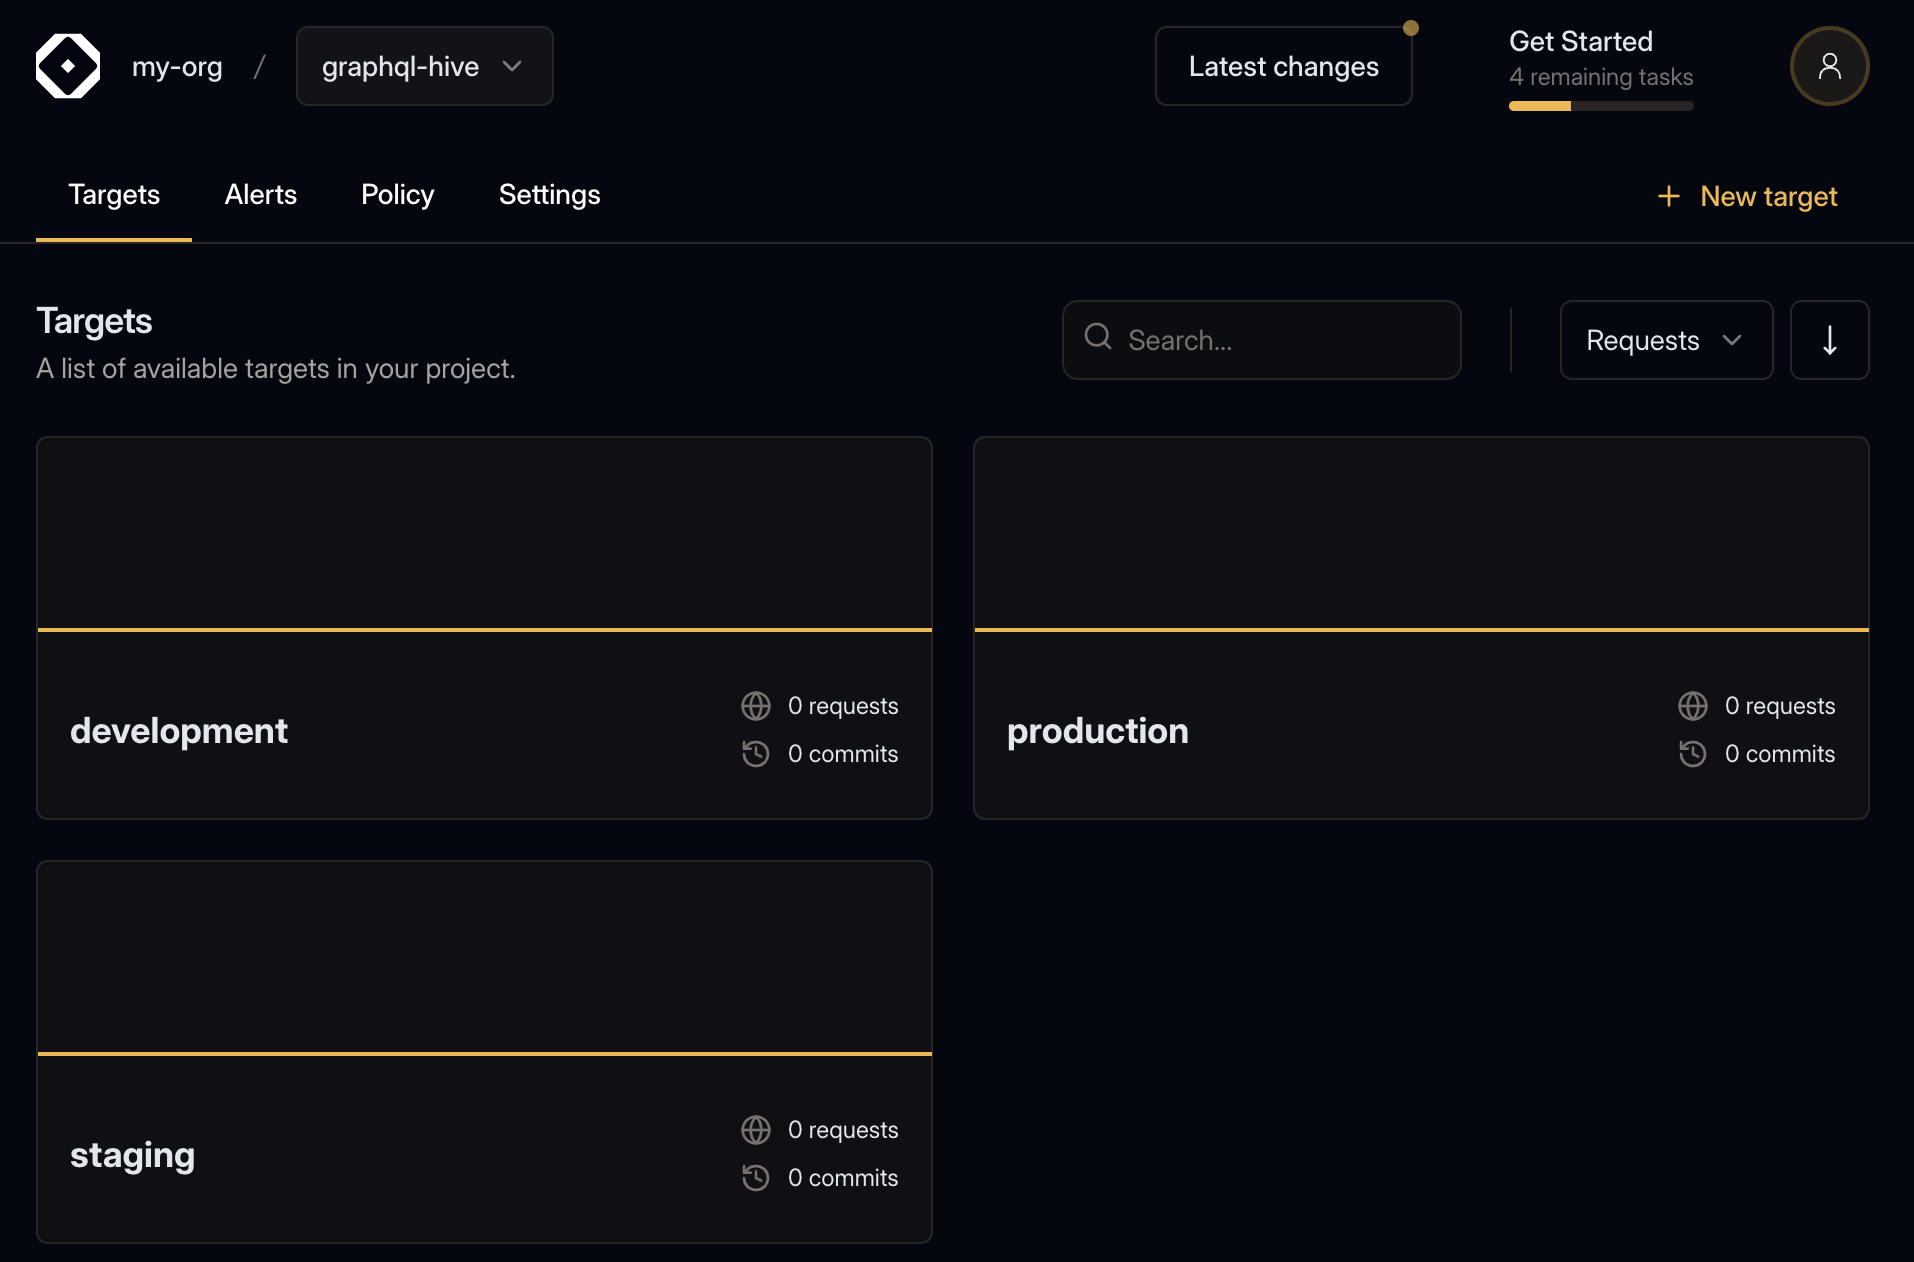
For this guide we will use the development target.
Now that you have your access token, you can publish your schema to the registry.
We’ll start with the Users service.
Run the following command in your terminal, to publish your subschemas/users.graphql to the
registry.
- Replace
<YOUR_ORGANIZATION>with the slug of your organization - Replace
<YOUR_PROJECT>with the slug of your project within the organization - Replace
<YOUR_TOKEN_HERE>with the access token we just created.
If everything goes well, you should see the following output:
If you’ll get to your target’s page on Hive dashboard, you should see that it was updated with the new schema you just published 🎉
Now, let’s publish the Posts service schema to Hive:
If everything goes well, you should see the following output:
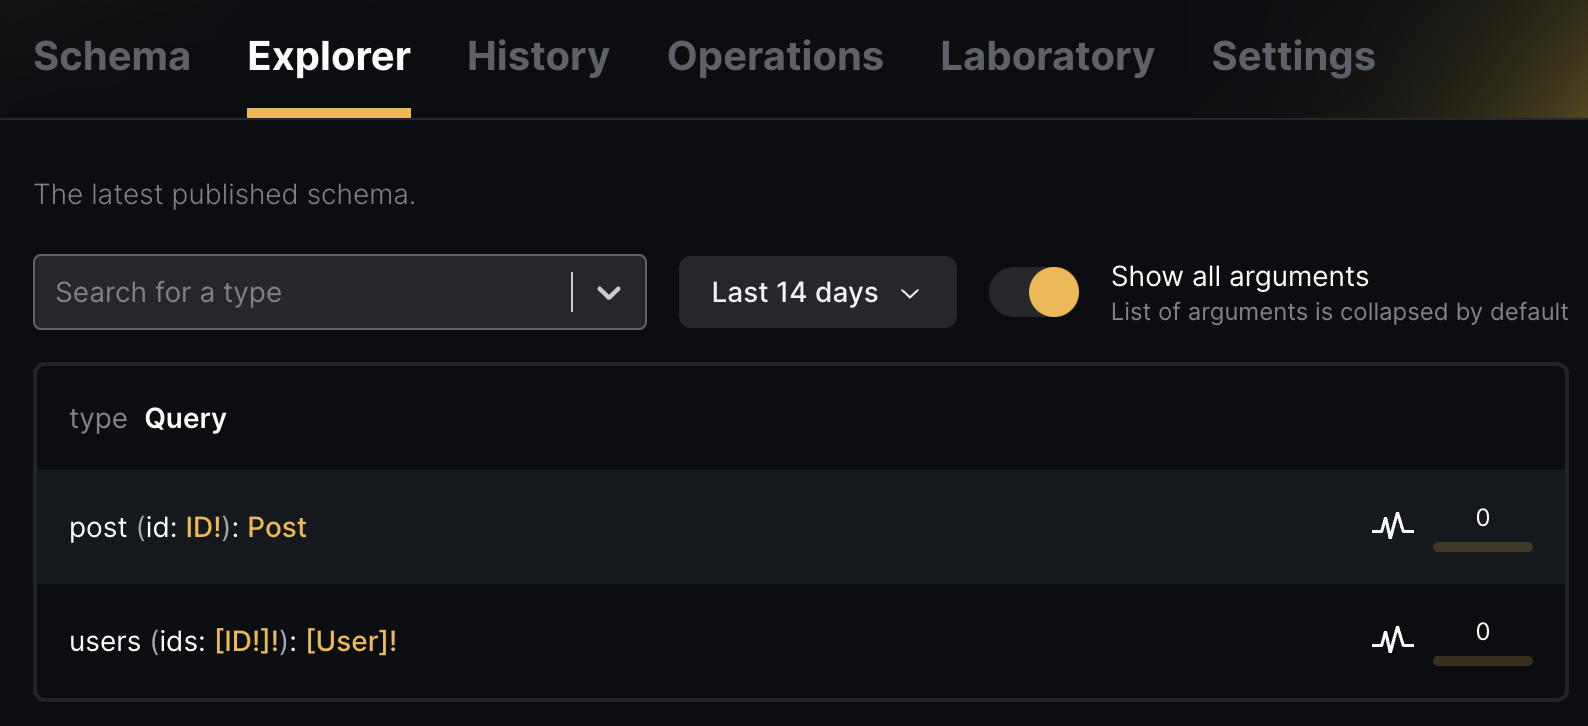
On your target’s Explorer page now, you’ll be able to see the schema of both services 🎉
Schema Checks
Hive can perform several checks on your schema before publishing it to the registry. You can use Hive CLI to run these check and find potential breaking changes, and potential composition issues when a Stitching project is used.
To see how schema checks works, let’s make a small change to our schema. First, we’ll start with a
non-breaking change - we’ll add a new field to the User type under the Users service:
Now, run the Hive CLI with the schema:check command and your modified subschemas/users.graphql
file:
You should see that Hive successfully detect the change you made, and exists with a 0 exit code,
meaning that the schema is compatible, valid and has no breaking changes:
Now, are going to try introduce a breaking change. To do that, we’ll rename an existing field in the GraphQL schema of the Users service:
Now, run the Hive CLI with the schema:check command again and the modified
subschemas/users.graphql file:
In that case, you’ll notice that Hive CLI exists with a 1 exit code, meaning that the schema has
breaking changes, and it’s not compatible with the current schema in the registry:
In addition to detecting simple breaking changes, Hive is capable of detecting composability issues across your services. To see how it works, let’s make a small change to our schema.
We are going to add a conflict to the Users service. We are going to add a new field (posts)
to the User type, that conflicts with the User type in the Posts service.
Run the Hive CLI with the schema:check command again and the modified subschemas/users.graphql
file:
And now you can see that the schema check process has failed, due to conflicts and inconsistencies between the schemas:
Evolve your schema
Now that you have your schema published, you can evolve it over time. You can add new types, fields, and implement new capabilities for your consumers.
Let’s make a valid change in our schema and push it again to the registry:
And publish it to Hive:
You should see now that Hive accepted your published schema and updated the registry:
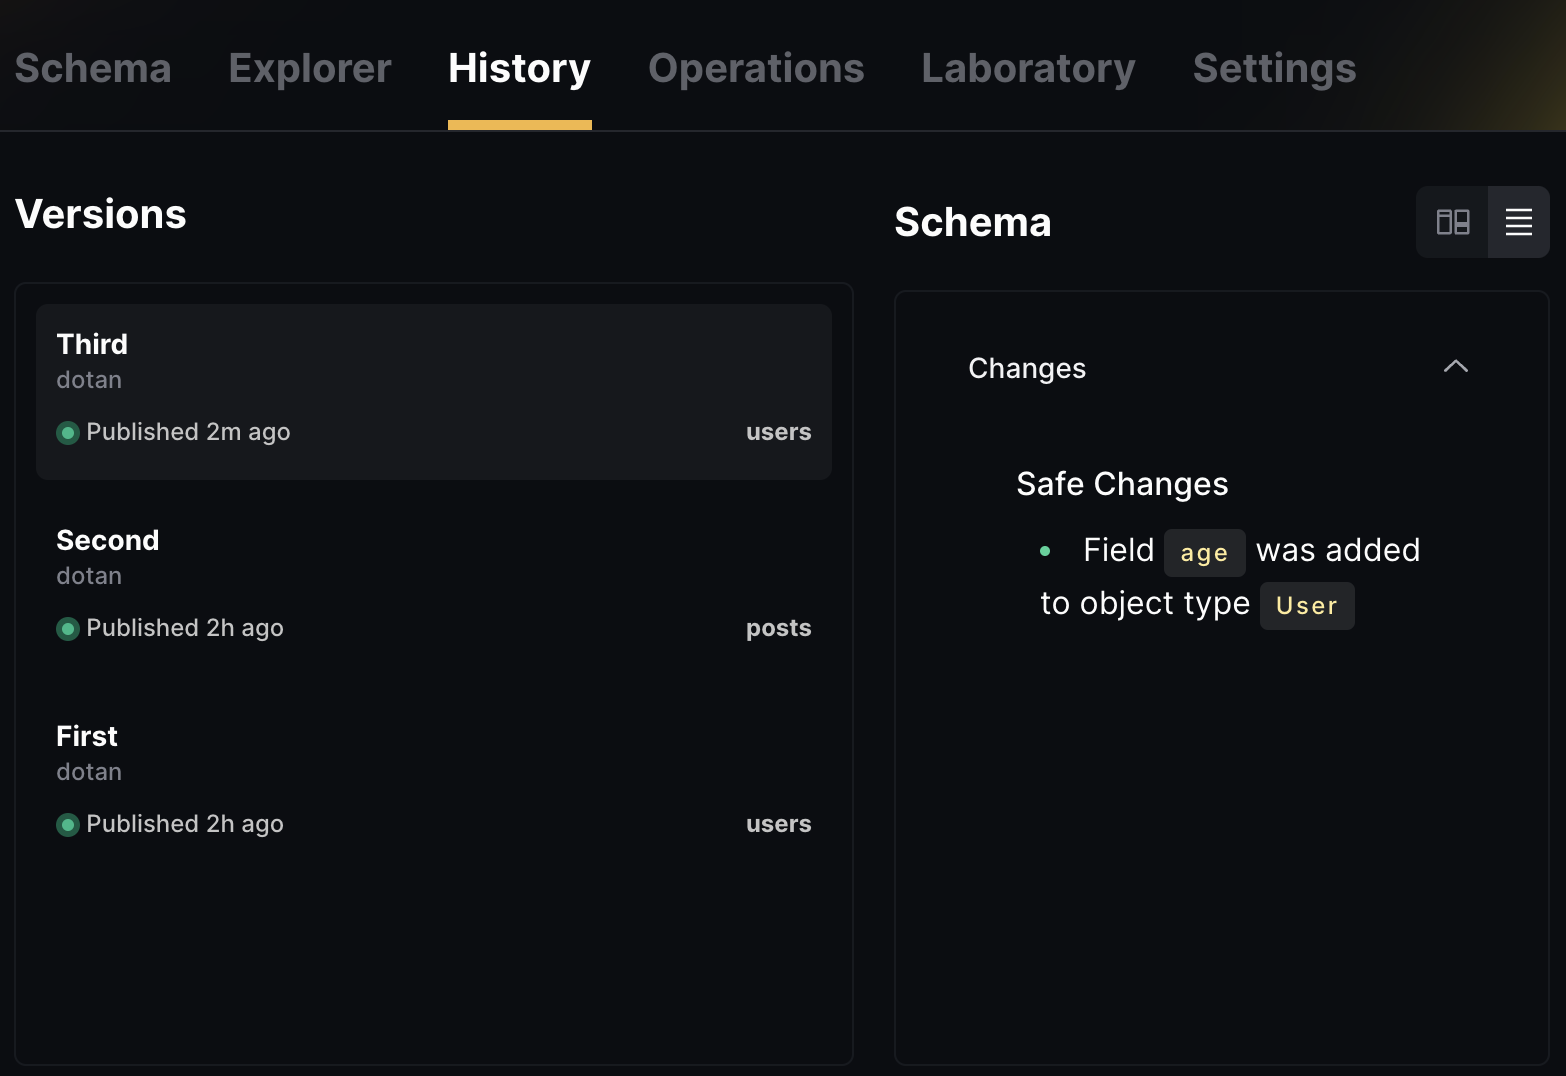
It’s a good timing to check the History tab of your Hive target. You should see that a new schema is published now, and you can see the changes you made:
Fetch your schema
Now that your GraphQL schema is stored in the Hive registry, you can access and fetch it through Hive’s CDN (Content Delivery Network).
The Hive Cloud service leverages the CloudFlare Global Network to deliver your GraphQL schema and schema metadata. This means that your schema will be available from the nearest location to your GraphQL gateway, with 100% uptime, regardless of Hive’s status. This ensures that everything required for your GraphQL API is always available, and reduces the risk of depending on Hive as a single point of failure. You can read more about Hive’s CDN here.
To get started with Hive’s CDN access, you’ll need to create a CDN token from your target’s Settings page. You’ll see a separate section for managing and creating CDN tokens, called CDN Access Token.
Click on Create new CDN Token to create a new CDN token. Describe your token with an alias, and click Create. Please store this access token securely. You will not be able to see it again.
To use your access token, go to your target’s page on Hive’s dashboard and click on the Connect to CDN button. You will see a screen with instructions on how to obtain different types of artifacts from the CDN. For this guide, you can pick the GraphQL SDL artifact.
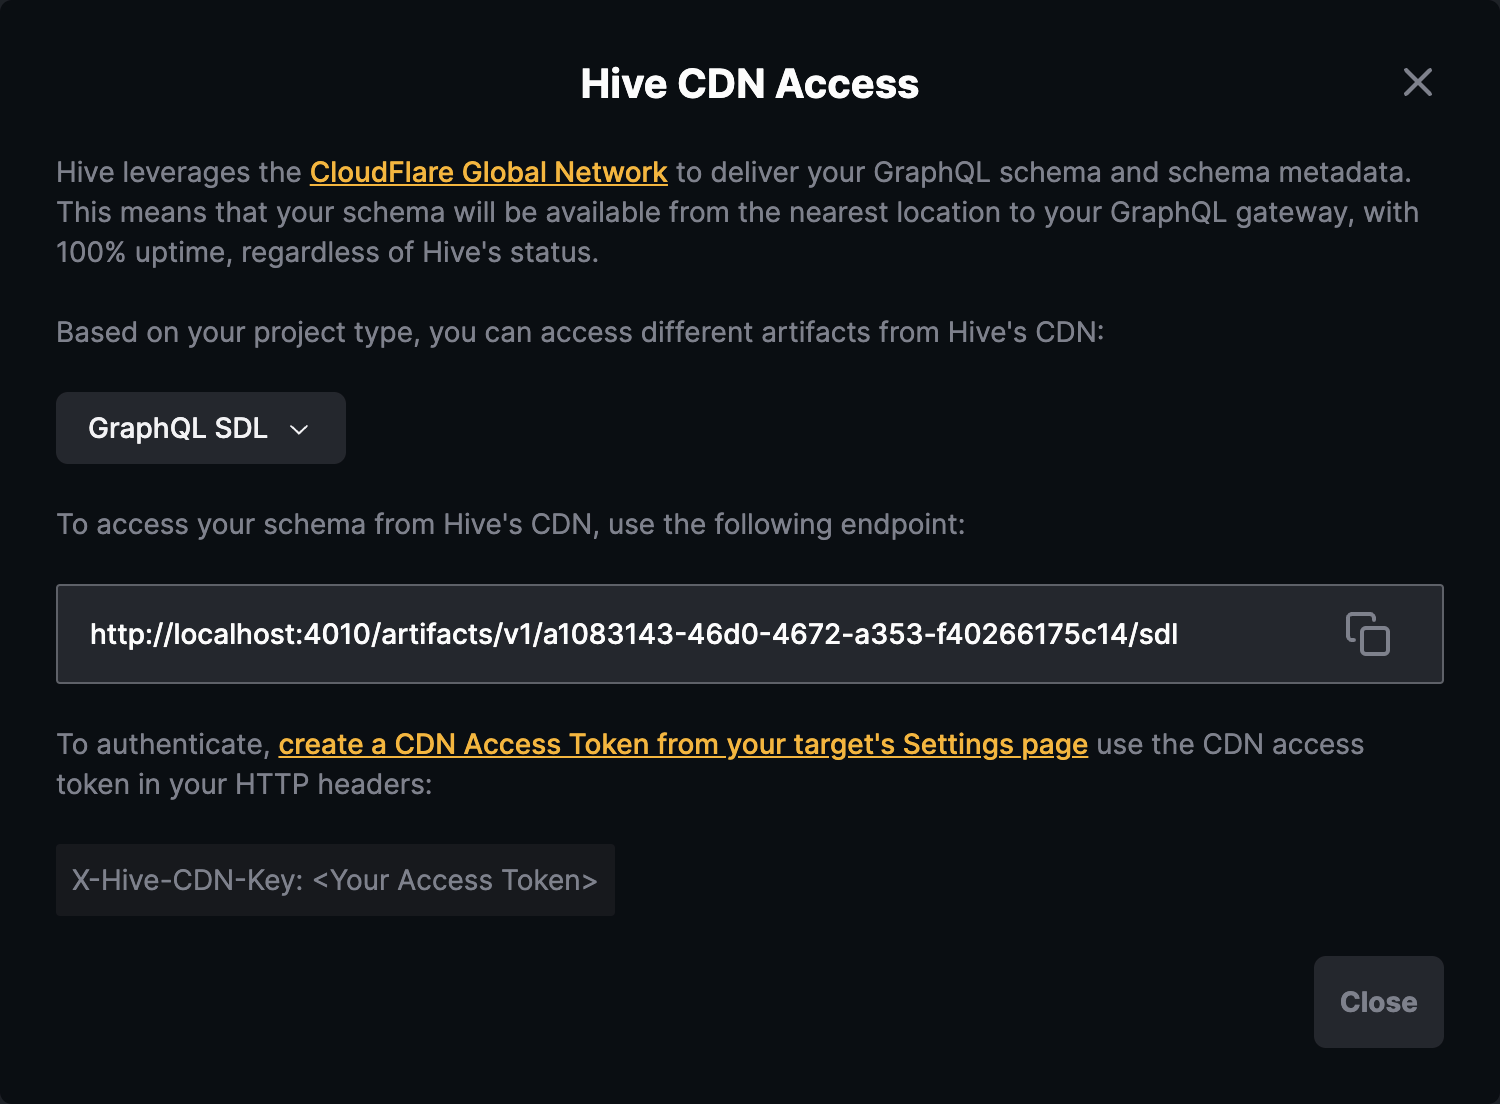
Copy the URL and let’s try to fetch your schema using curl (replace YOUR_HIVE_CDN_TOKEN with
your CDN token, and CDN_ENDPOINT_HERE with the endpoint you copied from Hive’s dashboard):
You should see that Hive CDN returns your full GraphQL schema as an output for that command.
A simple gateway
Now that you have your schema published, and the schema is available on Hive’s CDN, you can use it to build a simple GraphQL gateway.
In addition to the SDL endpoint exposed from Hive’s CDN, you can also use the /services endpoint
to fetch a list of all services and their metadata (url and name).
As part of Hive Client library, we are also exposing utilities for fetching and integrating your schema with your gateway.
Here’s a short snippet of how you can fetch the services information from Hive CDN, and start a GraphQL gateway using GraphQL-Yoga:
Next Steps
Now that you use the basic functionality of Hive as a schema registry, we recommend following other powerful features of Hive: